Saturday 19 May 2012

Vacuum Bag

This vacuum bag method is great


Curved Laminations

These laminations were pre-bent using some heat so I wasn't trying to have to much resistance    when I laid the laminations around the former. This worked really well.....thank goodness. I also fixed the laminations to the former at the base to get more purchase, making sure they didn't move when tightening the tension strap. 
We also had the thicker end of the laminations being bent around the tighter curve, which didn't help.
Once we got the process sorted out, it wasn't to bad. 

Coffee Table - legs

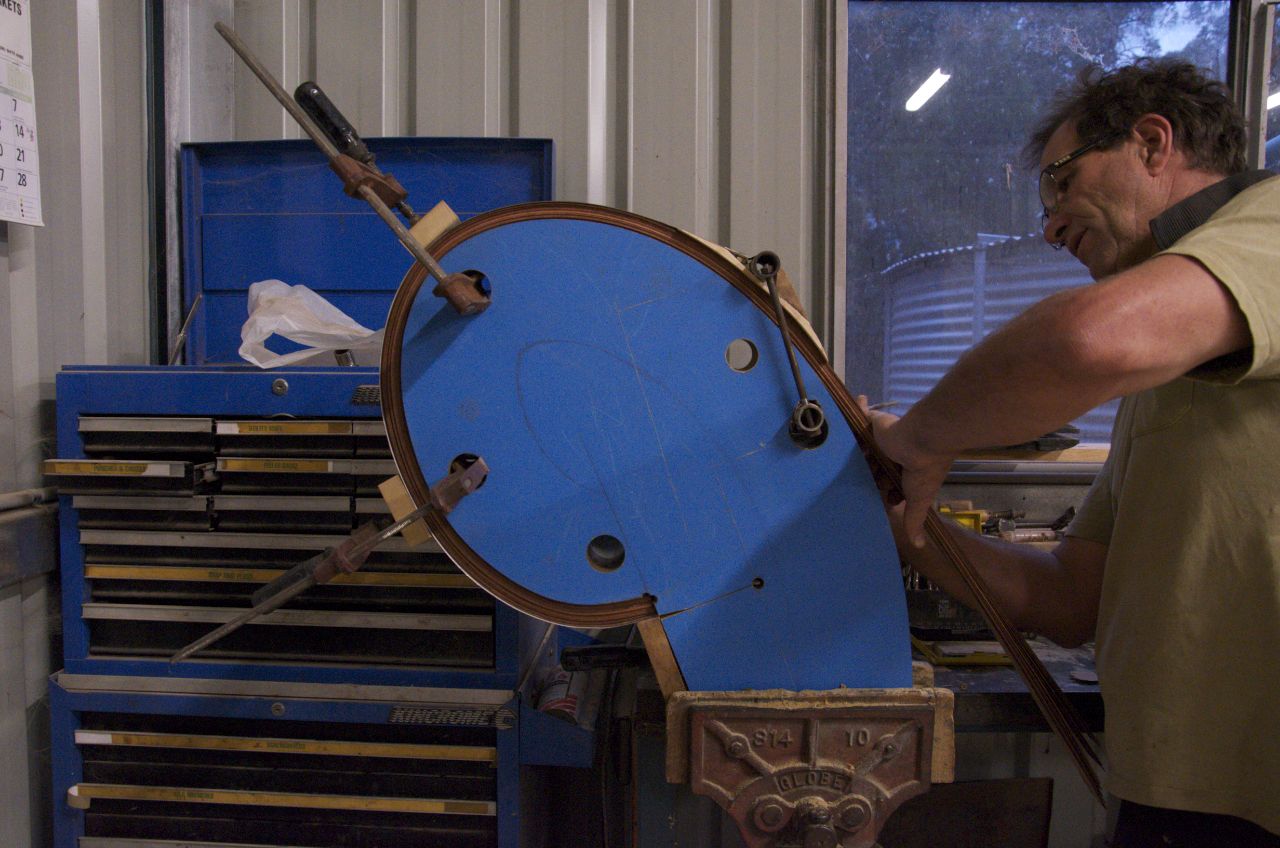
A practice run first to make sure I could bend 12 laminations around the curve. 

These will all be glued and wrapped in glad wrap, so as not to stick to everything.

Clamping certainly helped secure the laminates before the tension strap was tightened

Tension strap in place
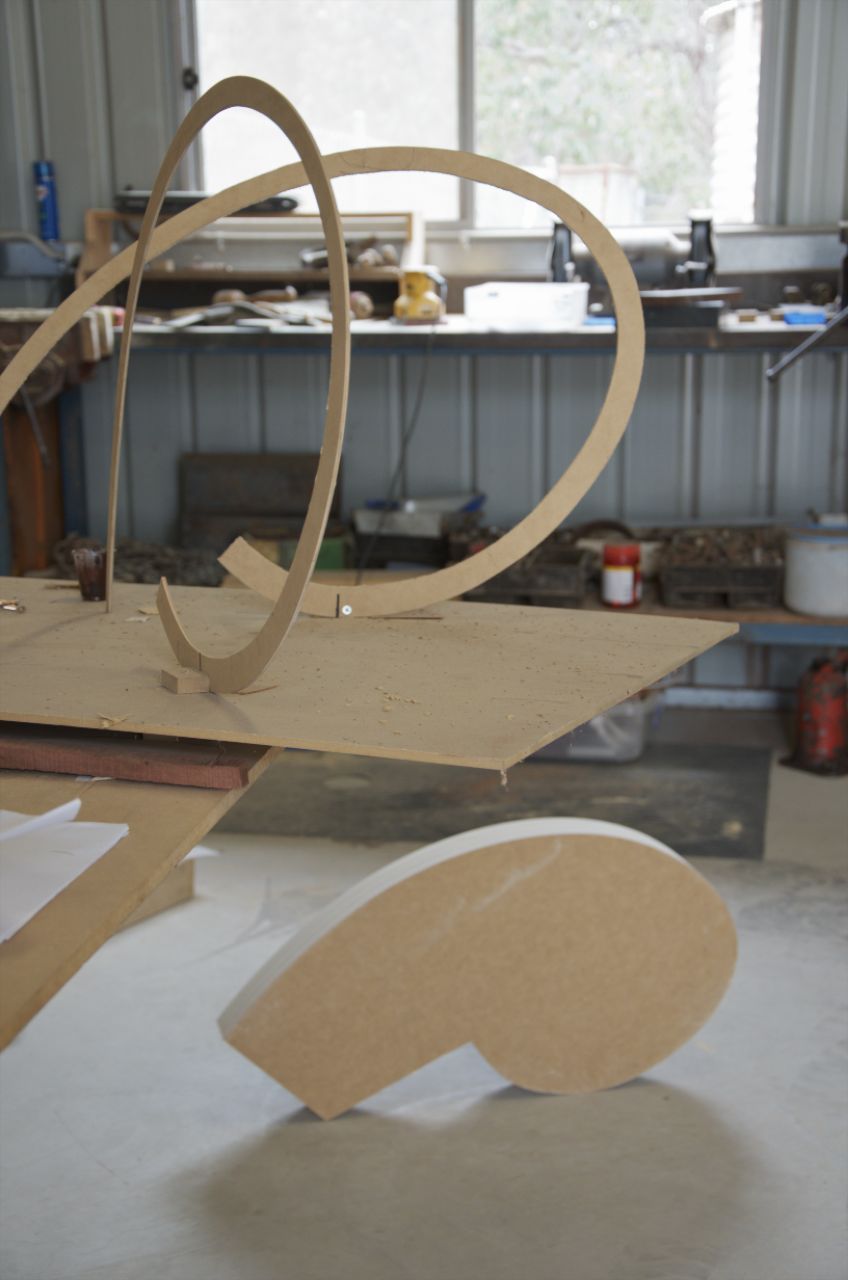
Now to glue, wrap, secure on former and into the vacuum bag all in less than 10 minutes

Thursday 17 May 2012

Coffee Table - legs

The former was pre- drilled holes to hold clamps, this was to help secure the strap until all was tight and placed into a vacuum bag.


The former with the metal strap attached


Another view of the metal strap.
This strap is to give tension on the curve where the bag will not give tension

Thursday 10 May 2012

Coffee Table

I pre bent the laminations by wetting, heating and bending each individual laminate, hoping to make the whole process easier when glued.

Coffee Table

For the legs the laminations are 2mm at one end 1mm the other and 50mm wide by 1600mm long. These were cut on a band saw then placed on a tapering sanding jig, with the correct fall over that distance. 
They were sanded to thickness on my Leda sander 


The former (on floor) and cardboard shape 
I've used Jarrah for 10 laminations and the 2 outside laminations are Yorkgum for each leg (12 in all). I glued these using UF as I didn't want to see the glue line.


Wednesday 9 May 2012

Coffee Table - legs

The legs were designed in conjunction with Peter Baldy a colleague at Australian School of Wood in Dwellingup. Together we designed the shape of the legs but he changed the shape a little. Not sure the curve is quite right......I will leave that up to the viewer.
The shape is based on a sea shell, curvy form, but it's actually been squashed some so it's not really round but more a tear drop shape. 
The leg shape was drawn, then drawn out on a grid so Malcolm Harris our lecturer could enter this into a computer  and cut out on a CNC machine. This was then refined a little more by hand. I think one part of the curve is not quite right....maybe a little pointy. The legs also have to interact for strength which is different to how we first envisaged. We had the legs running parallel with the table top which would have facilitated the need to have some structure joining the legs together. This would have detracted from the look of the table I'm sure. So rather than do that I will triangulate the legs so they come up into the middle of the underneath of the table to support. Which I think will be a very nice design feature as well as giving strength.

Coffee Table

The wood came first........ it is Yorkgum. It is unusual to source a piece of Yorkgum this big.
1400mm L x 650mm W x 30mm.
The board has figure down each side with the growth rings in the middle....nearly quarter sawn. Also it's a good shape reasonable square which also attracted me. I purchased the slab and also the boards with the vision to make the legs from the same timber.
This piece was started to try and keep a person at the school inspired. So maybe the coffee table should be called "inspiration" or "motivation".......